Conversion of a Thetford C 403 L cassette toilet

Peter set himself the goal of installing a composting toilet in the available space of his motorhome bathroom, which can then be cleaned through the existing service flap. For this purpose, Peter left us an installation report that will surely serve as inspiration for many. The composting toilet is a completely do-it-yourself construction.
1. Attempt

Front and lid made of multiplex birch 15 mm
After removing the cassette toilet, an intermediate floor was inserted into the available free space, on which the rectangular bucket from the MeineTrenntoilette.de range of accessories is placed. A 10 l canister, also from the shop, fits directly behind the existing disposal flap, in front of the intermediate floor. Both parts fit well through the disposal flap. The toilet lid had to be converted to open from the side for reasons of space.

Problem: The canister does not have a connection to attach the hose for draining the urine. Here I used a tank connection with an elbow screw connection, whereby the hose has to be bent very strongly to drain the urine. For emptying, the elbow fitting was removed and replaced by a lid.
During the first longer test run (6 weeks in Greece), this resulted in hose breaking after about 4 weeks and the urine flowing into the toilet room. Fortunately, there was a boat repair shop in the next town that had suitable hoses and could repair the damage temporarily. We also noticed that the plastic of the green connection pipe becomes very soft when exposed to heat and can pop off when bent slightly. It is advisable to choose a more stable plastic or to secure it with a hose clamp, for example. Simple glued wood was used for the first test model. The existing SOG fan will continue to be used.
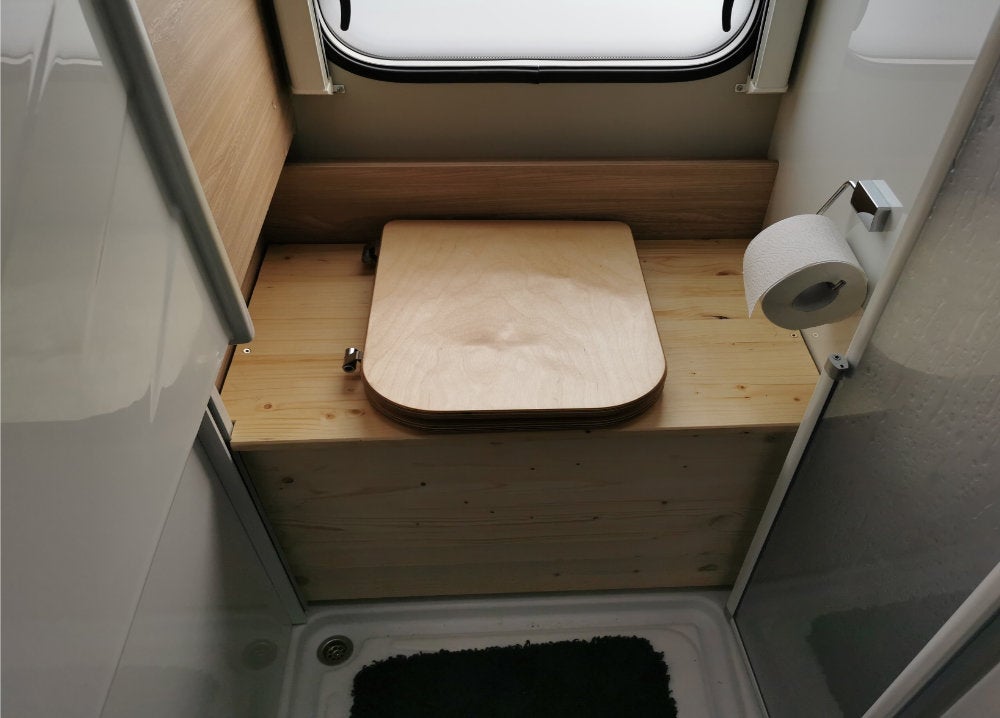
 The available space for the installation
2. Attempt
After returning from holiday, I completely removed the toilet and looked for alternative solutions in the shop. Fortunately, there is now a 19l canister that is flat enough and fits through the disposal flap. Here as well, a tank connection for the hose has to be fitted in a suitable place.

The solids bucket stands on the canister
Due to the fact that the canister lies flat, the tank connection is significantly lower and the spiral hose is only slightly bent, which certainly extends the service life significantly. The bucket for the solids stands on the canister and should not be overloaded due to its relatively low weight. Planned emptying intervals are 3 to 4 days, which is possible without any problems.

The urine canister fits exactly into the available space. The remaining space in the back can be used to store litter or other consumables.

Hose connection

Conclusion:
Peter showed in great detail how a composting toilet can be built even in the smallest places. The result is truly successful and can be easily reproduced with the photo instructions.
Have you documented your own construction of a composting toilet? We are always happy to receive DIY reports, which are a great inspiration for everyone else.
You can find all the components for this DIY project in our shop in the accessories category. But maybe you don't feel like building your own, then take a look at our composting toilets:
You can find all composting toilets here!
If you would prefer more information on composting toilets, download the composting toilet guide.