
Trelino M conversion in the panel van

Gerfried and Olya from womoguide.de got themselves a Trelino® M for their van and wrote a conversion report about it. We would like to share you now the conversion report, slightly adapted. After all, it is always a challenge to take apart the plastic-wrapped motorhome bathroom.
Reasons for a composting toilet
There are mainly similar reasons why people choose a composting toilet:
- Gaining independence and freedom
- No need for chemicals, for the sake of the environment
- No need for disposal stations
Gerfried and his wife also had these above-mentioned reasons for deciding to convert to a composting toilet. Despite initial scepticism, they finally decided in favour of the conversion, as the limitations of the cassette toilet were greater than the challenge of the conversion.
Challenges
The old cassette toilet was on a plinth, as in many panel vans. Any composting toilet with a standard height would be too high on the plinth, as the two already knew from their cassette toilet. Then the legs were always dangling in the air. Another challenge before the conversion was the bathroom, which is completely enclosed in plastic, as it is in most motorhomes and panel vans. At the beginning, it was not at all clear how to remove the old cassette toilet.
Incidentally, we have developed our shortened Trelino® M precisely for this installation variant. It fits perfectly on such pedestals or landings and thus has a good sitting height. Gerfried and Olya also decided for this model. In addition, the Trelino® models are currently the most compact composting toilets on the market and thus fit into almost every van bathroom, but especially into the Ford Nugget.
Preliminary considerations
The position of the composting toilet must be decided in advance. It is important to have enough space on the left and right for the arms and shoulders. After all, you don't want to sit squeezed in on the toilet. Also to be considered is any space to the rear if there is a hinged lid on the toilet. This usually requires up to 5 cm of space to the rear, depending on the composting toilet. A crank toilet, such as the Natures Head, also needs space at the side for the crank operation. The Trelino® M used here requires no space to the rear, as the lid is completely removed before use. However, it can also be made foldable. Instructions for this can be found in the product description in the shop.
If the composting toilet is to be equipped with a fan, as Gefried and Olya have done, this must also be considered in advance.
Step 1 - Removing the cassette toilet


Gerfried first looked for all the screws that were responsible for anchoring the cassette toilet and removed them piece by piece. As shown in the photos, some were in the outer wall and others at the bottom of the cassette compartment. Some of the screws were behind plastic panels that had to be removed in advance with pliers. According to Gerfried, however, it is not easy for a non-professional to decide which of the many screws are now relevant for the removal. He removed some screws unnecessarily.
As in a few of our other removal/conversion reports, the cassette compartments look quite similar from the inside, so the procedure is roughly the same.
Step 2 - Shut down the water pipe and power cable
A cassette toilet is supplied with electricity and water. Before everything can be removed, the water connection and the power supply must be disconnected. The power cable is disconnected and fused to the side in case a fan is to be installed on the composting toilet, as is the case with Gerfried and Olya. Gerfried first connects the cables to a WAGO terminal. Of course, he cuts the power first.
The water pipe can then be disconnected from the cassette toilet and the remaining water from the pipe runs out. A plug is used to shut down the pipe.

The ideal solution would be to remove the water hose completely. Gerfried looked for the corresponding T-piece that allowed the water pipe to branch off to the toilet. This T-piece is removed and replaced by a straight hose connector. Standing water in a residual pipe should be avoided at all costs. To find the T-piece some searching has to be done.

Step 3 - Adjustments in the bathroom
After all the screws have been loosened and all the connections have been cut, the old cassette toilet in the bathroom can simply be lifted out. Underneath, there is now a ledge with a base on which the cassette toilet in the Ford Nugget was screwed. However, the ledge makes the conversion a challenge. They have to come up with a way to fix the Trelino® M there.

Unfortunately, the dividing toilet does not fit into the plinth. Gerfried and Olya decide to shorten the base a little, as the plastic narrows towards the top. They hope that they will be able to put the composting toilet in there. There is a lot of tension here. Nevertheless, they stick to it. In the end, the whole plastic base has to be cut off, because the Trelino® just didn't want to fit.

Step 4 - Building substructure
In order to get the Trelino® M firmly mounted, they decided to build a substructure from a wooden panel. This was then protected from moisture with a slightly protruding plastic sheet.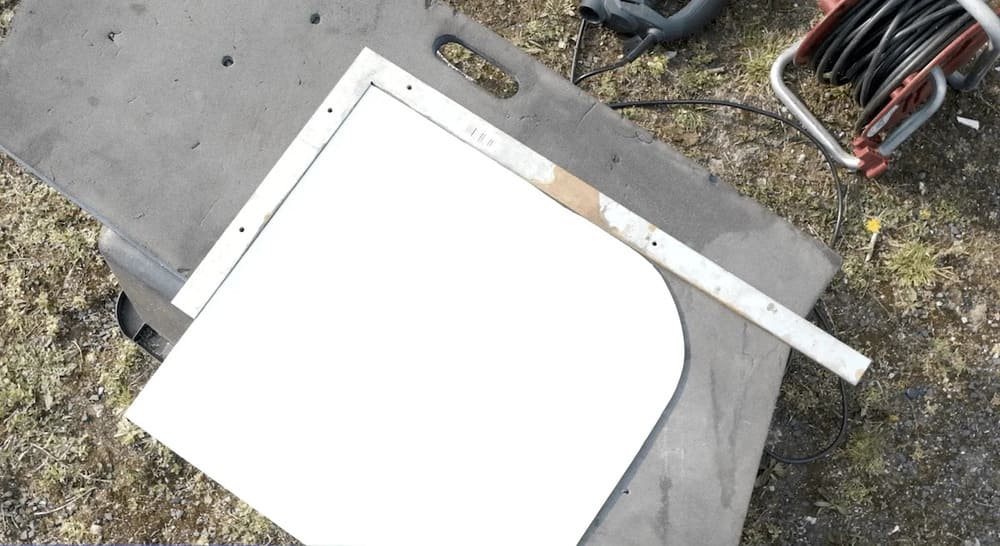
It is important to mention here that you use a plastic material that can be sealed well with silicone afterwards. Unfortunately, this is not possible with PP and PE. Gerfried used Soudal Fix All Crystal for sealing. Almost everything can be glued and sealed with it. The base plate and later the back wall were screwed together properly and then sealed to prevent moisture from entering.
Step 5 - Fan installation
To complete the functionality of the composting toilet, Gerfried and Olya decide to install a fan. This improves the drying of the solids by removing moist warm air. In addition, the emptying intervals can be extended.
To connect the fan, a hole must be drilled in the Trelino, which works very well with a step drill. However, it takes more effort to make the hole in the motorhome's exterior flap.
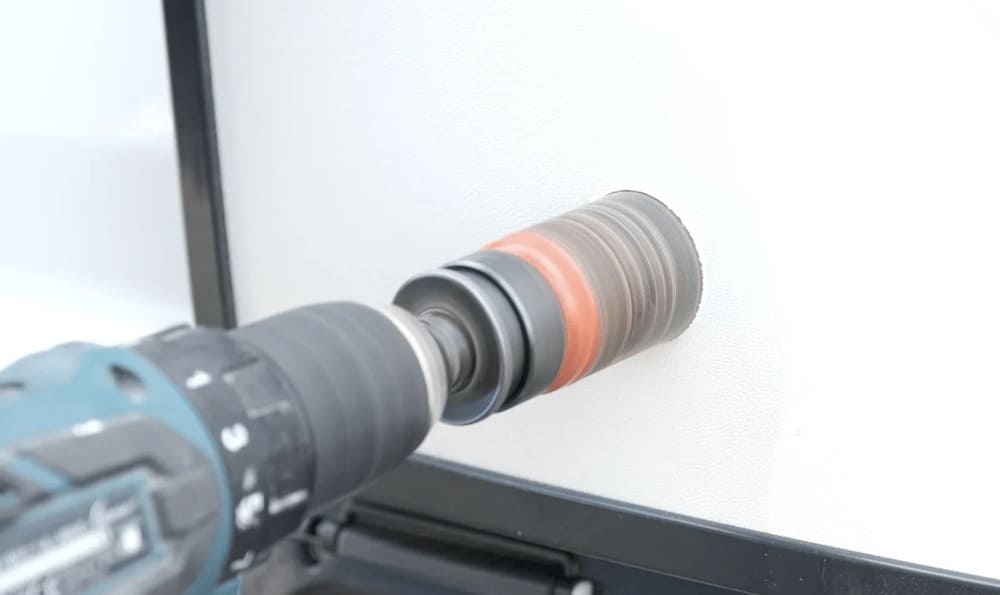

The external hole on the camper is treated with rust protection from the outside and protected against rain and wind. A hose connects the fan to the Trelino® M. For better operability, Gerfried also installs a switch with which he can switch the fan on and off as needed.
Step 6 - Fixing Trelino® M
Before fixing the Trelino® M, Gerfried checks all the seals again. The composting toilet is then anchored to the floor with two screws.
The installation of the composting toilet in the Ford Nugget van is finished.
Conclusion
The conversion was definitely worth it and both are now very satisfied with the composting toilet in the van. The reputation of the composting toilet has been confirmed:
- it does not smell
- disposal is much easier.
From their point of view, the conversion has turned out very nicely and they are happy with their composting toilet, even though the removal, especially of the base, was very laborious. You can find even more detailed information on Gerfried and Olya's website: womoguide.de
You can find all composting toilets here!
If you have also converted your toilet in a camper van, van or garden shed, please share this post with us. Write us an e-mail: kontakt@meinetrenntoilette.de.